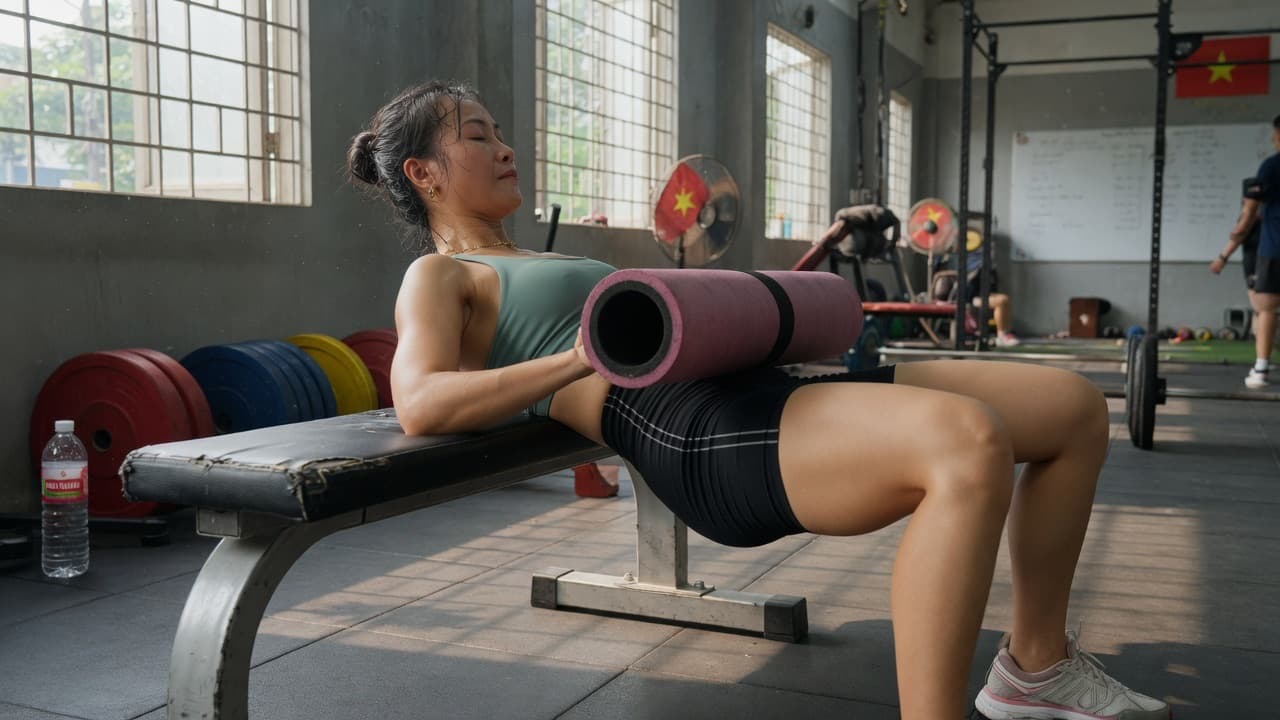
Floor glute bridges and bench hip thrusts are the same hip-extension family, but muscle length and leverage differ. Many people jump straight to heavy thrusts before they can squeeze the glutes on a bridge, then use the low back instead of the hips. This article gives a floor → shoulders on a low bench → load progression, with cues to avoid excessive arching.
The goal is a clear glute squeeze at the top, neutral pelvis — not “bending the spine backward” to push higher.
Why start with bridges
- Shorter range, easier to learn glute squeeze and brace.
- Minimal equipment: just a mat.
- Early detection if you push with the low back instead of hip extension.
- Warmup or active recovery on light leg days.
Rung 1: Two-leg glute bridge
- Lie on your back, knees bent, feet hip-width, heels press the floor.
- Inhale–light brace; drive the hips up until the body from knees to shoulders is nearly straight.
- Squeeze the glutes 1 second at the top; do not push so high the low back arches.
- Lower slowly 2–3 seconds. 3×10–15.
Graduate when: glutes feel clearer than the low back; you can do 3×15 controlled before adding load on the hips (light plate or dumbbell).
Cue: “drive the floor with the heels – ribs down – squeeze glutes to bring the hips through, do not bend the back.”
Rung 2: Single-leg bridge and pauses
- One leg extended or bent in the air; hips do not tip. 3×8/side.
- 3-second top pause with two legs to raise time under tension.
- Band around the knees to remind you not to cave inward.
If one leg tips the hips a lot, return to two legs for 1–2 more weeks.
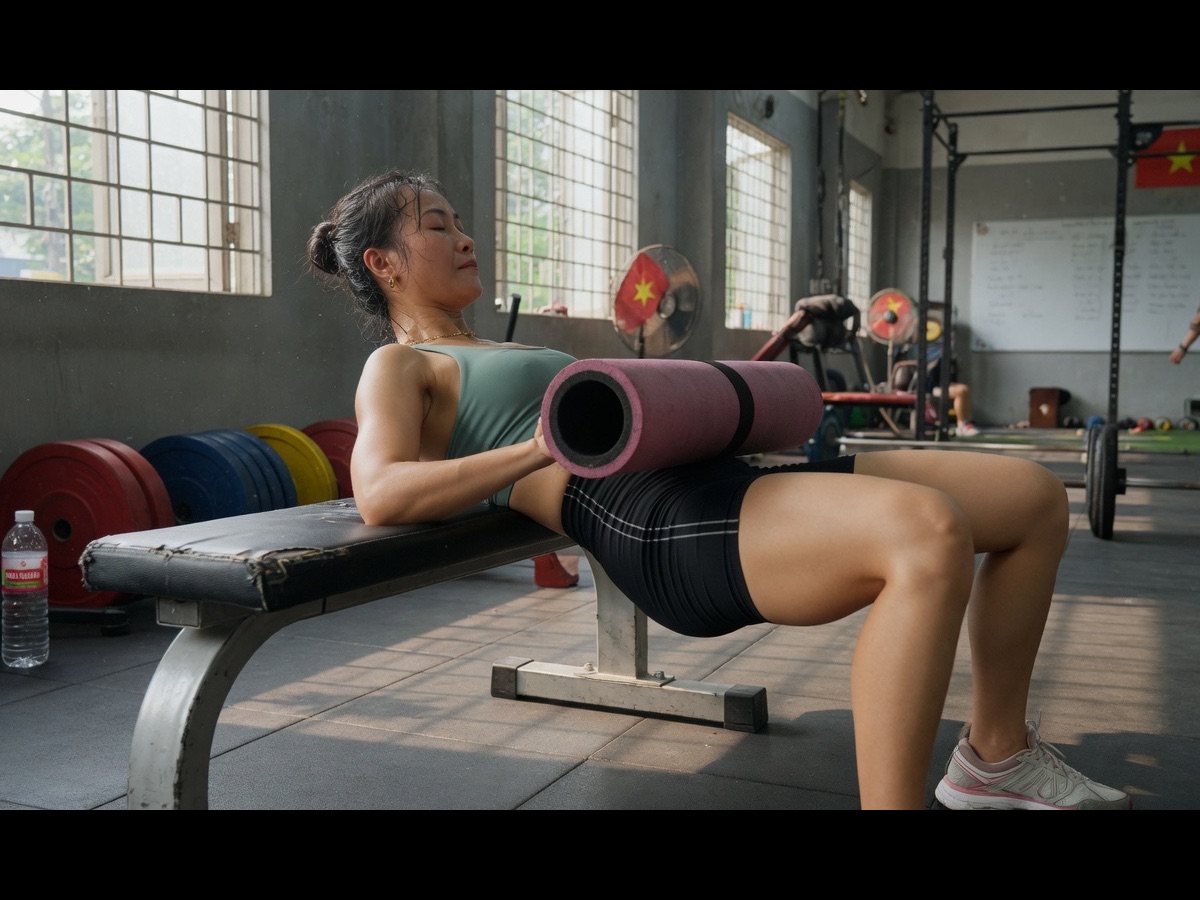
Rung 3: Shoulders on a bench (shoulder-elevated)
Place the shoulders on a sturdy non-sliding sofa/gym bench; feet on the floor. Longer range than a floor bridge — this bridges into hip thrusts.
- Chin slightly tucked, gaze forward–down; avoid hard neck extension.
- Drive hips up until thighs are nearly parallel to the torso; squeeze glutes.
- 3×8–12 unloaded or with light load on the hips.
Graduate when: 3×10 clean, no back pain, bench does not slide.
| Rung | Setup | Graduate reps | Notes |
|---|---|---|---|
| 1. Floor bridge | Two legs | 3×15 | Learn glute squeeze |
| 2. Harder bridge | Single-leg / pause | 3×8/side | Hips stay level |
| 3. Shoulders on bench | No/light load | 3×10 | Sturdy bench |
| 4. Loaded hip thrust | Bar / dumbbell | 3×6–12 | Add load slowly |
Rung 4: Loaded hip thrust
Pad the hips, add load gradually. Keep the same neutral cues. Last sets must still control the lower — if you only “pop” up with the back, cut weight.
Pair with RDLs in the week to balance the posterior chain; see how RDL differs from stiff-leg and hip thrust and RDL for women.
Form faults and quick fixes
- Low-back arch: lower the ribs, reduce top height, think “glute squeeze” instead of “highest hips.”
- Pushing through the toes: press heel–midfoot; move the feet slightly farther/closer to find clear glute feel.
- Knees cave: light band or cue a gentle push of the knees out.
- Sliding bench: brace a wall behind the bench or switch to sturdier gear.
Sharp back, hip-joint, or radiating leg pain: stop loading and get checked. Post-session glute soreness is different.
FAQ
Bridges every day?
Unloaded or very light bridges can be used often as activation. Heavy thrusts need rest days between sessions like other glute work.
Do I need a hip-thrust machine?
No. A sturdy bench and bar/dumbbell cover most goals. Machines help when the gym is busy and you want safer load placement.
Why do lots of reps with no glute fatigue?
Range may be wrong, back may be arching, or feet may be too far/close. Film from the side, add a top pause, and cut load to find the feel again before going heavy.
General hip-extension progression only — not medical advice. Stop for unusual spine–hip pain or if you are in an injury recovery phase not cleared for loading.